Media arts internship March 18 - 19, 2015

March 18

I updated the march madness tournament bracket with the results from round 2. I then finished my organization of the pictures I took at Spring Training.

March 19

I processed all the pictures I planned to release in gallery post on the site, then wrote the post. I process pictures by opening them in Adobe Bridge and adjust the different settings of the pictures.

I shoot all my pictures in RAW so that I can go into Bridge and adjust levels for different elements of a picture. RAW is exactly what it sounds like, a starting point for an image with tons of information. For example, one of my RAW files is 22 MB. After I converted it to a JPG, after adjusting different elements to make the image look better, it is now 3 MB. JPGs get rid of a lot of information to make the image more size efficient. I can adjust levels in the JPG format, but due to the lost information, it doesn’t work as well.

I start at the top and work my way down. Exposure is adjusted first, then recovery, fill light, blacks, and finally brightness. As I’m adjusting I’m looking between the image and the histogram. Ideally, the histogram should have a hill shape, but that’s rarely the case. I end up trying to get the histogram as close to looking like a hill as possible and watching the image to see what I like. I’ll also crop the image to get rid of polls, garbage cans and other things in the shot that tend to draw the eye away from the main focus of the image. If I like the image as is I’ll save it directly from Bridge.

Other times I’ll open the image in photoshop to remove stuff from the shot or add a filter. I typically add filters if a shot is blurry, but I like the shot anyway. Other times I’ll experiment with shots, like this:

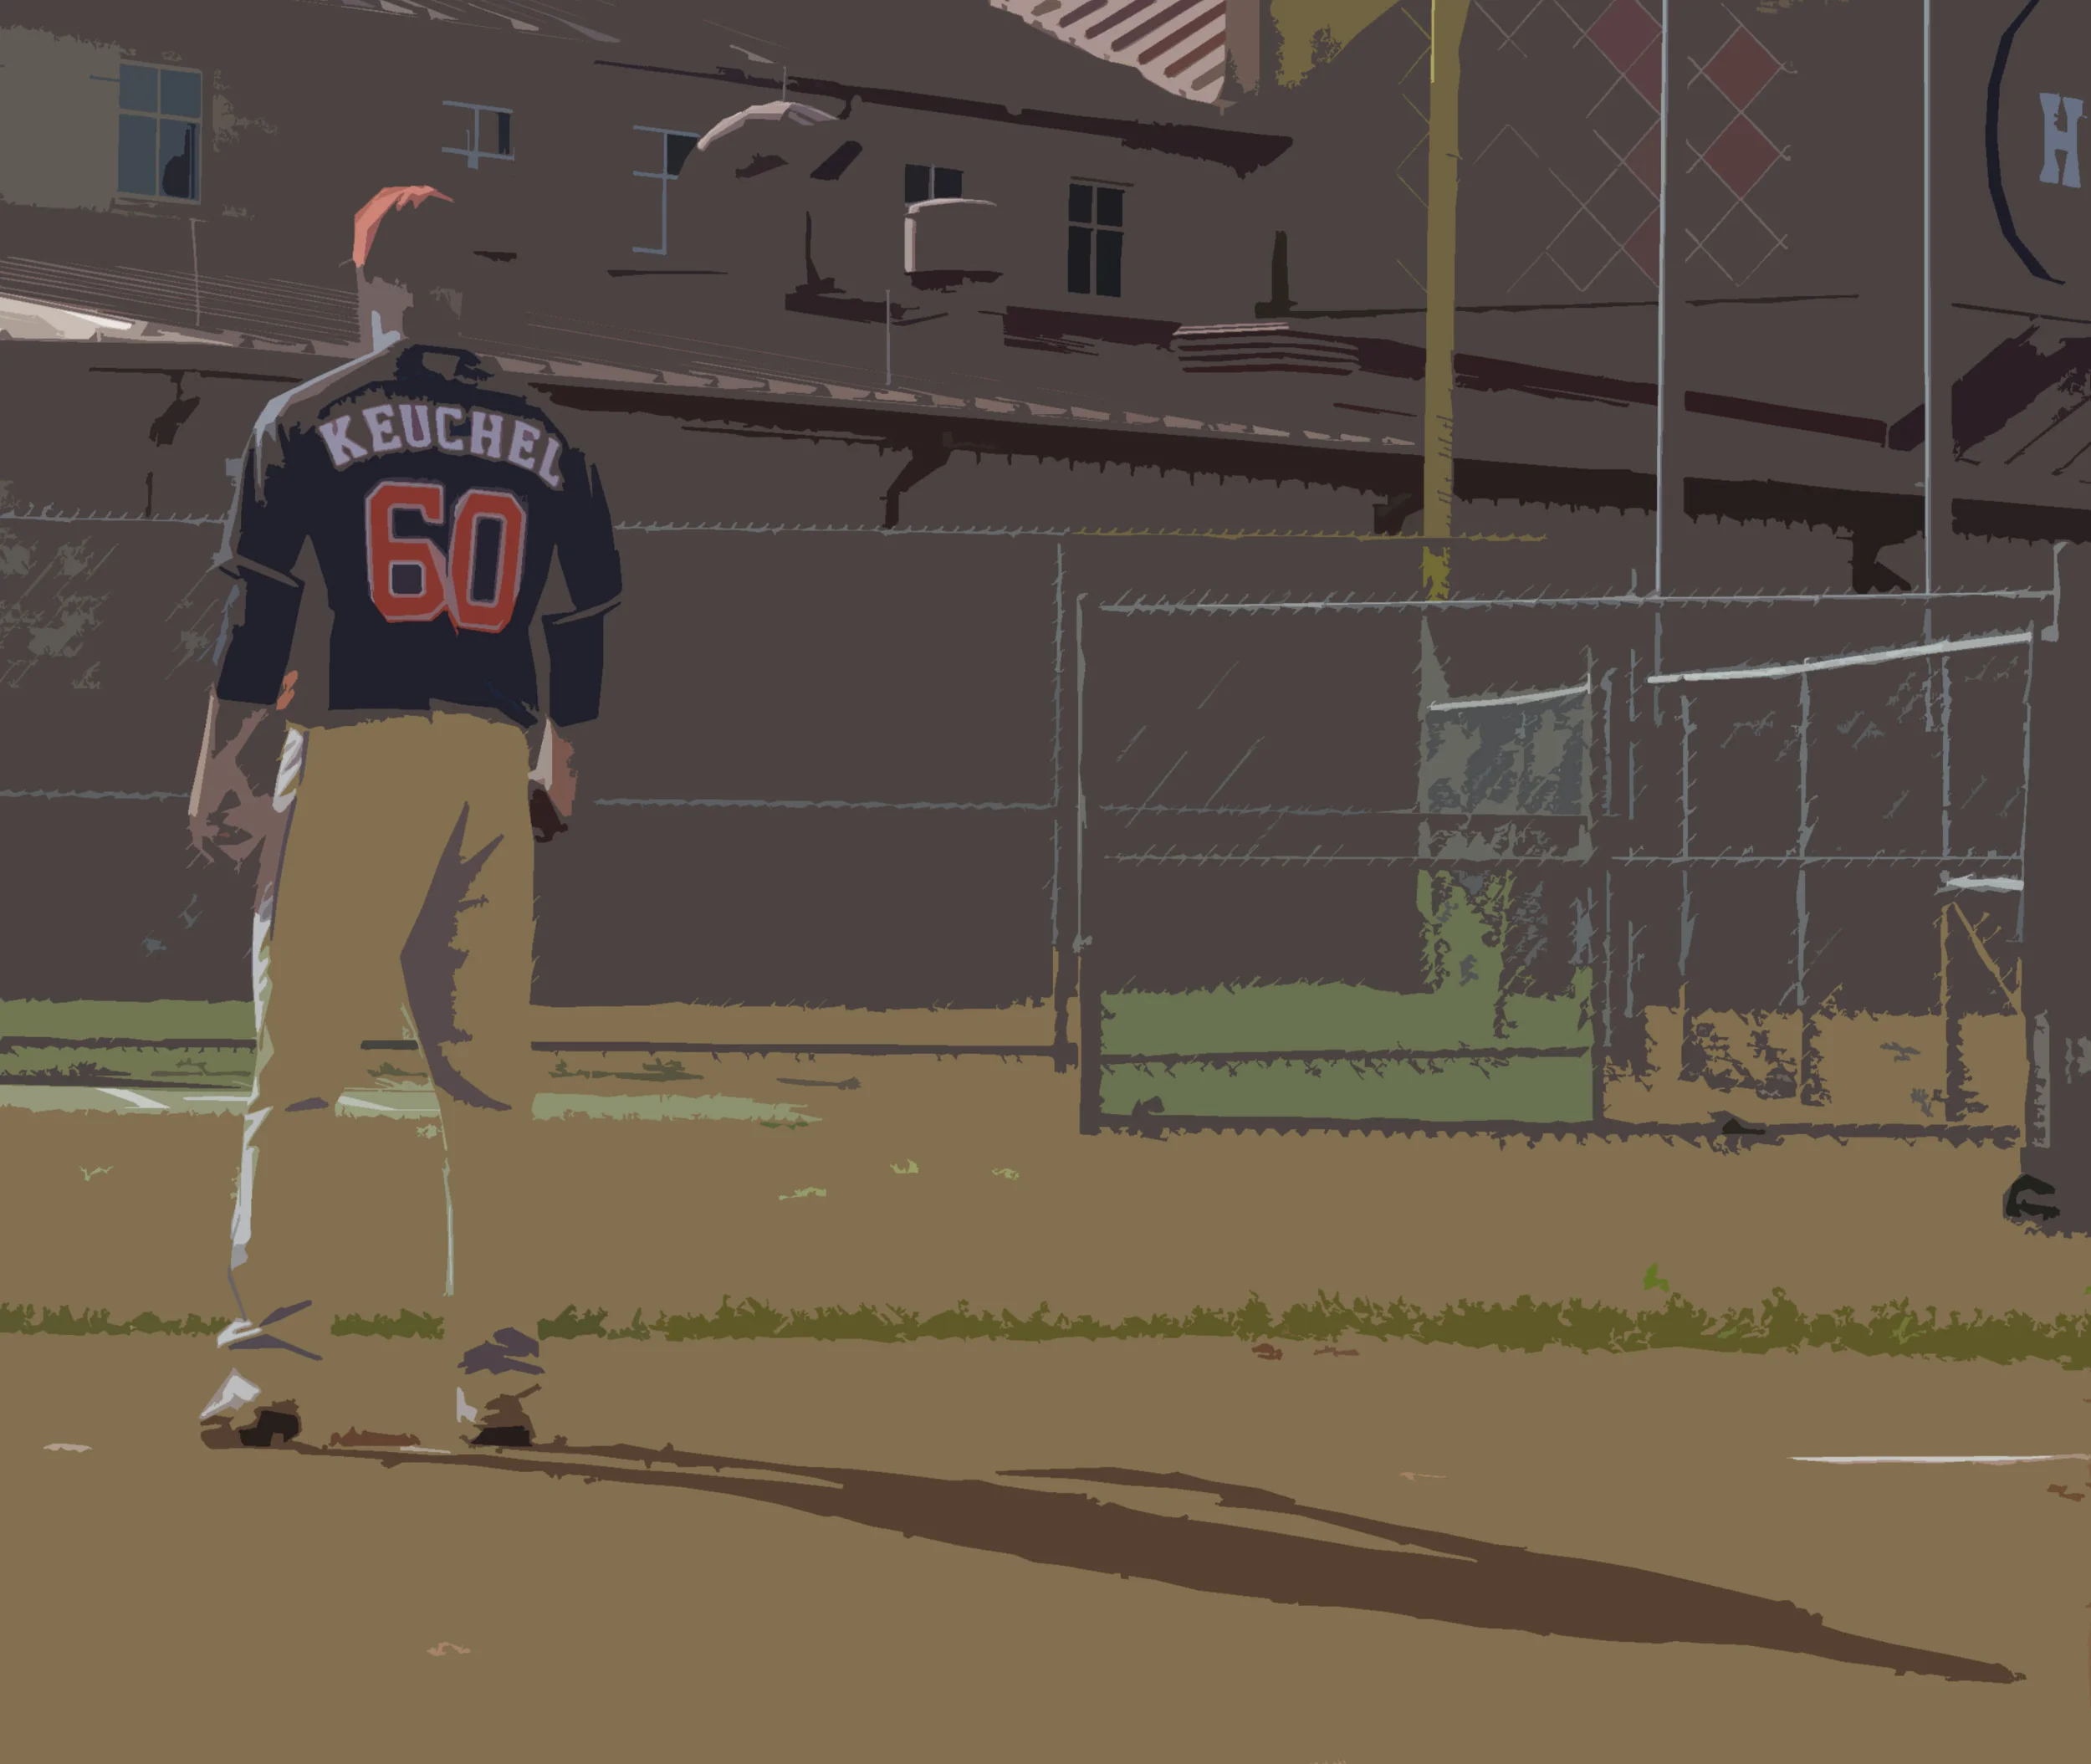
The idea here was to get the words and the number on the back of the jersey to show along with the shadow. Again, I was experimenting. Next I uploaded the pictures to the website and created a gallery post for them, which will release Friday. I’ll be uploading all the pictures to the gallery on this site as well.


How to make a GIF: the tools

I've been asked on multiple occasions how I make GIFs. This post series will describe the process I use to make GIFs and hopefully help others that are looking to get into GIF making. If there's anything this world needs it's more GIFs.

My first GIF took me three hours to make. I’ve managed to get that down to about three minutes. The process I use is:

  1. Record the video with Fraps.

  2. Trim the video down to a 3-8 second clip and save as an .mp4.

  3. Import the .mp4 file into Photoshop.

  4. Delete the frames I don’t need or want.

  5. Crop the image.

  6. Add a watermark.

  7. Export as a web image.

  8. Upload to the internet.

There are multiple ways that a GIF can be made, but the above is the process I use. To follow my process you will need:

  • Fraps, which will require money, or some other video recording software.

  • A video editor, Windows Movie Maker or iMovie for the Mac should suffice.

  • Photoshop, I use CS5.

  • A place to upload your image, imgur is a good place to start though does have size restrictions.

In this post I want to breakdown each of the four applications needed to make a GIF. In my next post I’ll start going through the process of how I make a GIF.

Video recording software

I originally bought Fraps to get into video game editing of first person shooters and to review World of Warcraft (WoW) raids and it seemed to be the video recording software as choice. I’ve found that it works just as well for record baseball games. It’s a one-time purchase of $37, which comes with free updates to Fraps. It's worth noting that it hasn’t been updated since February of last year. Despite the lack of recent updates, the video record works perfectly fine, it just doesn’t have all the bells and whistles of some of the more expensive software.

One of the more expensive options would be something like Camtasia Studio, which I’ve played around at work with and works quite well, but costs around $300. There are many other options out there, it will just take a little research to find the recording software that works for your budget. Most will offer a free trial version, which you can use to try, just don’t expect to use it long term or make anything you can really use as companies typically put watermarks on trial versions.

Fraps - http://www.fraps.com/download.php

Camtasisa Studio 8 - http://www.amazon.com/TechSmith-CAMS01-8-Camtasia-Studio-8/dp/B008EQUD4U

Video editor

Your video editor doesn’t need to do a whole lot. I mostly use my video editor for trimming the video down to just the section I need. Photoshop will only load about 500 frames, which is about 12 - 15 seconds of a video at 30 frames per second (fps). I try to keep GIFs under 200 frames for size purposes, so 500 frames is a bit overkill and why I try to stick to importing video that is between 3-8 seconds. Windows Movie Maker is fantastic for this and is really easy to pick up and use. I’ve never made a GIF with iMovie on a Mac, but I imagine it’s going to be a similar intuitive process.

If you want make GIFs like this:

McHughOverlay

Then yes, you’ll want a video editor with more features like Adobe Premiere or Apple’s Final Cut Pro. Starting off the video editors that come with your operating system (OS) should suffice.

Photoshop

This is where the magic happens. I import the trimmed clip into Photoshop via Video frames to layers. Then I go through the process of deleting frames I don’t need and cropping the image down to the size I want. I also add my watermark before exporting as a GIF. If you're a student, Photoshop can be purchased at a discounted price. You can also sign-up for Adobe’s Creative Cloud service which has a monthly fee, but gives you access to all the latest and greatest Adobe software. I’ve never tried any of the free image editors and would love to hear if anyone has had success using them to make a GIF.

Upload Image

Most of my GIFs are uploaded to the SB Nation sites I contribute to:

The Crawfish Boxes

Garnet And Black Attack

Anything non-sports related goes up either on this site or my imgur account. Imgur has a limit to how big images can be, which can get pretty big for GIFs. A paid account will increase the limit on how big a GIF can be to upload. I pay a monthly fee for this site, so I’m not limited by the size of the GIF. If I do ever hit a limit, I will be sure to update this post. Other places to try would be social media sites like Tumblr and Twitter. Tumblr is actually where I initially hosted my GIFs. Twitter you can upload a picture to a tweet and that can include GIFs.

In the next part I’ll get into the process of how I create GIFs. If you have any questions or suggestions feel free to leave them in the comment section below.


Media Links April 6, 2014

A Friend With Photoshop Is All You Need - Javvad Malik - J4VV4D

I love a good Photoshop post.

What Meetings Feel Like For Engineers - Via Lauris Beinerts - Fail Blog

Perpendicular lines, red ink using green and transparent ink, kittens and balloons.

"Captain America: The Winter Soldier" Is About Obama's Terror-Suspect Kill List, Say the Film's Directors - by Asawin Suebsaeng - Mother Jones

This is fairly spoiler free, aside from the plot details. Saw the movie Thursday night and my buddy who was two seats down from me (who I also work with) texted me towards the end of the movie, "That NSA context." You'll agree, if you read the article and watch the movie.